
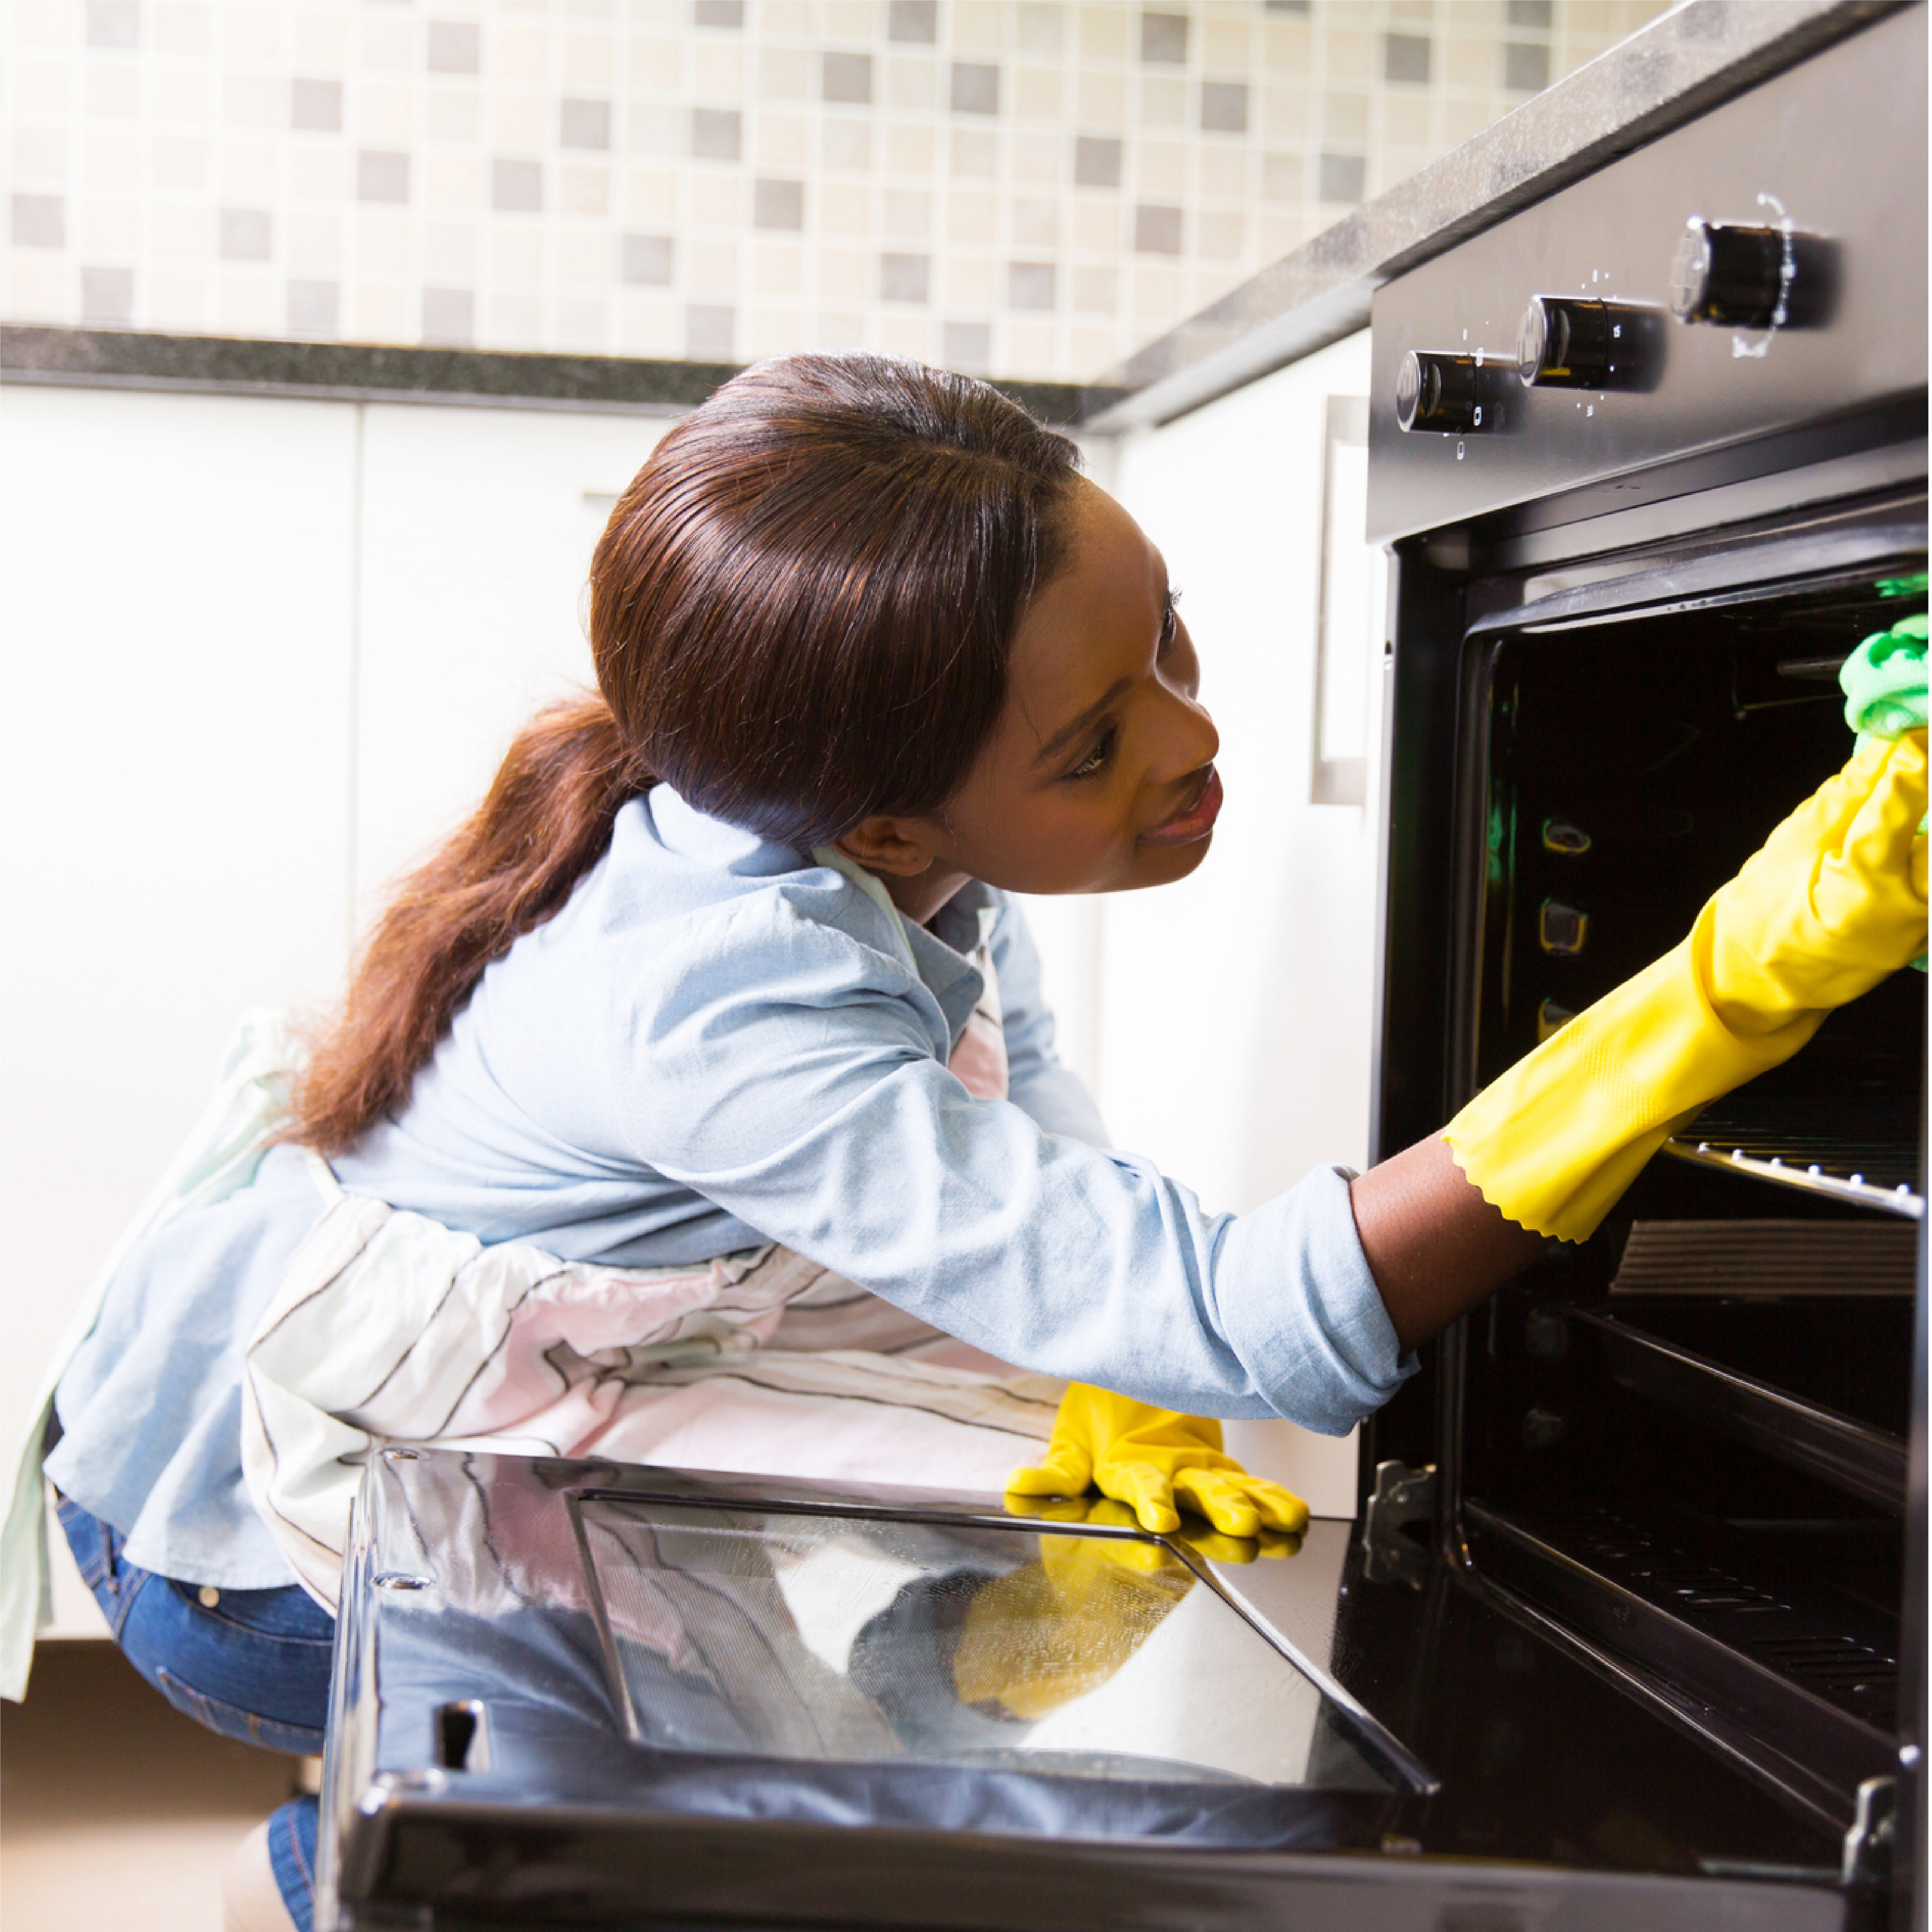
The Best Way to Clean Your Stove
Cleaning your stove regularly is not only safer and healthier for you and your family, but it
also makes your stove run more efficiently and keep more accurate temperatures. To get the
best performance out of your stove or cooktop, wipe down all burners and external surfaces
every day, and clean the oven and cooking surfaces at least every month, more often if you
use your stove frequently.
Here are step-by-step instructions for cleaning your stove monthly, by type of oven
and cooktop.
Electric stove: Turn your oven to the hottest temperature available and let it run for five
minutes, then turn it off and allow it to cool. This will burn off any debris or spills inside the
oven. Once the oven is cool, use a damp cloth with either baking soda or grease-fighting dish
detergent to clean off the racks, coils, drip pans, and all inner surfaces of the oven.
Next, lift up the top of the cooktop. Use a shop vac or handheld vacuum to suck out all debris
and food stuck under the frame. Then wipe all surfaces with a damp cloth with grease-fighting
dish detergent. If you have crusted-on spills or anything that has left a stain, make a
paste of baking soda and white vinegar and put the paste on the spill and let it sit for 10
minutes, then wipe off.
Finally, use a damp cloth with grease-fighting dish detergent to wipe all outer surfaces of
the stove, then use your shop vac or handheld vacuum to suck out any debris that may have
fallen under or behind the stove.
Solid cooktop or induction burners: To clean a solid surface cooktop or induction cooktop,
wipe off all debris, then wipe with a damp cloth with baking soda or grease-fighting dish detergent.
If you have caked-on spills or stains, make a paste of baking soda and white vinegar
and apply that paste to the spills or stains and let it sit for 15 minutes, then wipe off with a
damp cloth with grease-fighting dish detergent.
Gas stove: Turn your oven on to the hottest temperature available and let it run for five
minutes, then turn it off and allow it to cool. This will burn off any debris or spills inside the
oven. Once the oven is cool, use a damp cloth with either baking soda or grease-fighting dish
detergent to clean off the racks, drip pans, and all inner surfaces of the oven.
To clean the cooking surfaces, take off the grates and burner caps. If you can lift off the top
of the cooktop, do that, and use your shop vac or handheld vacuum to suck out any debris or
spilled food. Then use a damp cloth with grease-fighting dish detergent to wipe the surface
of the stove and make sure the vents of the burners are free and clear. If you have crusted-on
spills or anything that has left a stain, make a paste of baking soda and white vinegar and
5902 Facebook Post Planogram 2021 put the paste on the spill and let it sit for 10 minutes, then wipe off. Wipe off the grates and
burner caps. If they have caked-on spills, soak them in a dish tub of hot water with baking
soda and white vinegar added for 15 minutes or until you can easily scrub the caked-on food
off. Once the grates and burner caps are clean, replace them.
Finally, use a damp cloth with grease-fighting dish detergent to wipe all outer surfaces of
the stove, then use your shop vac or handheld vacuum to suck out any debris that may have
fallen under or behind the stove.
With regular cleaning, your stove should look great and run more efficiently at a more accurate
temperature. The more regularly you clean your stove, the fewer tough spills you’ll have
to scrub.
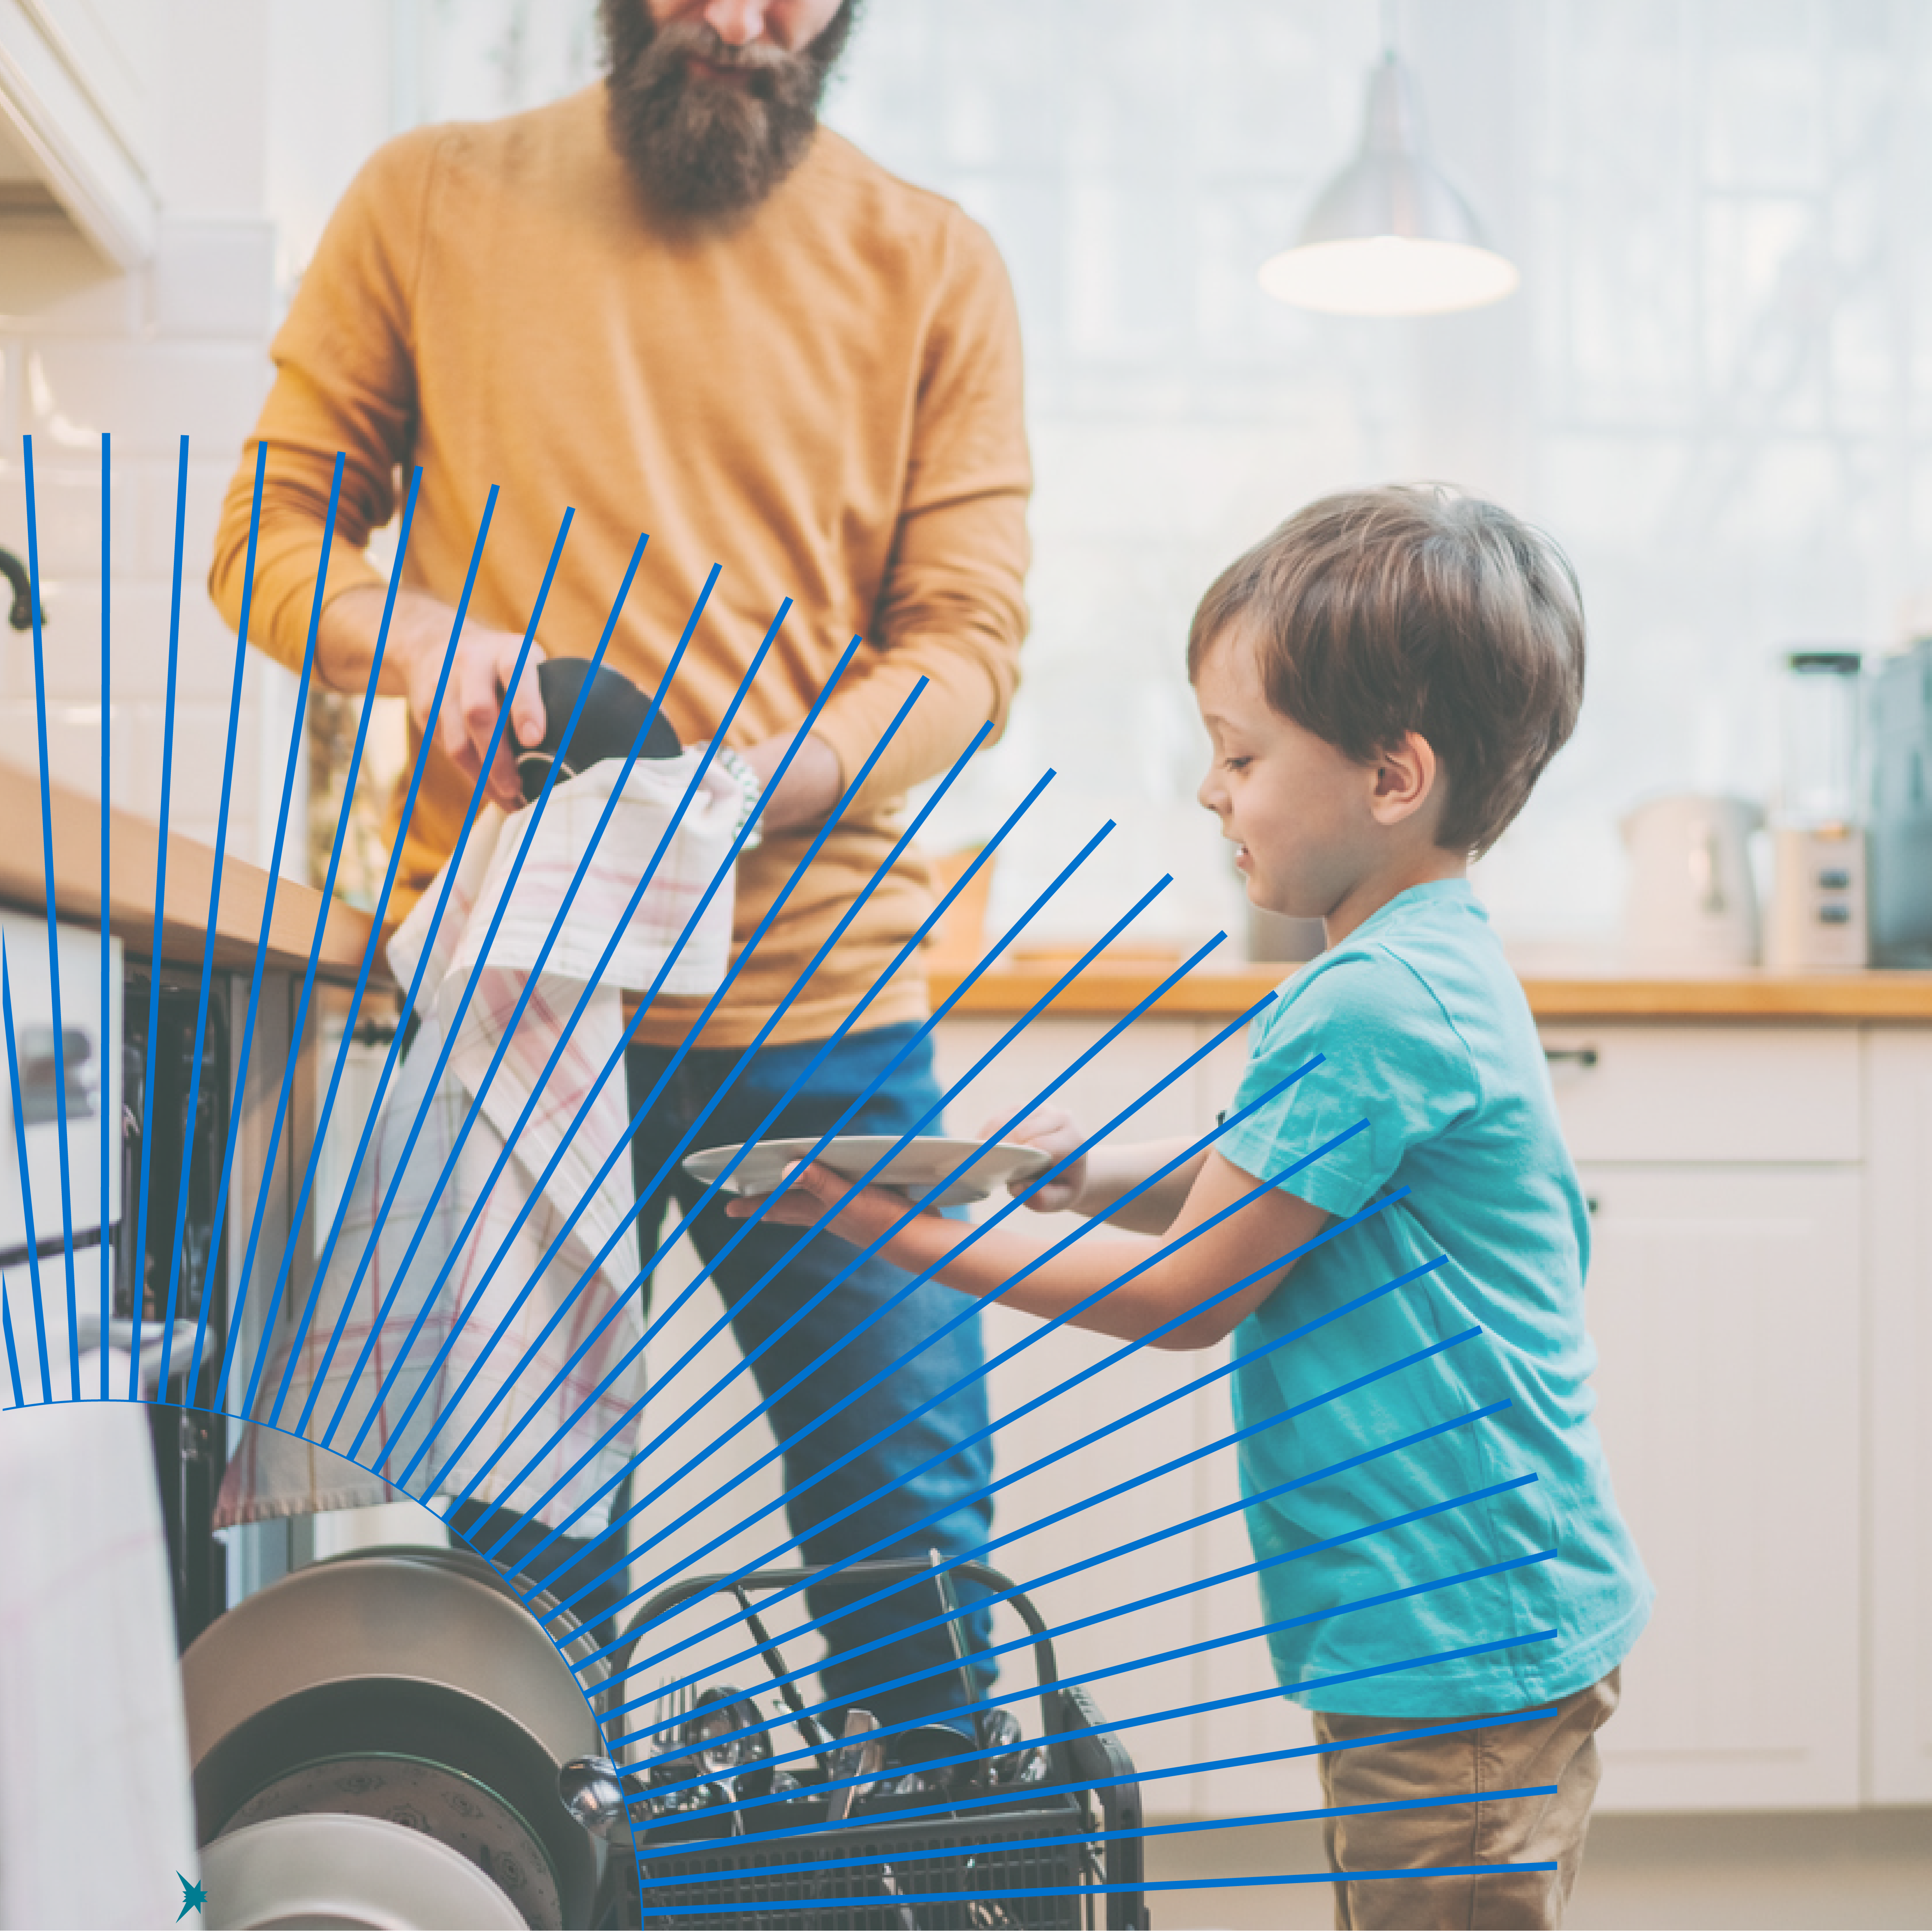
Load Your Dishwasher This Way, Not That Way
It can be tempting to jam all your dishes into the dishwasher to fit in as many as possible, but that doesn’t make the best use of your dishwasher. When you load the dishwasher more carefully, your dishes will get cleaner and your dishwasher will run more efficiently and use less energy and water. These seven common loading errors are cost you efficiency and bigger water bills.
Load plates facing inward, not all in one direction. Load plates on the bottom rack in different
sections facing inward toward the center of the dishwasher. This makes the best use of the
spray coming from the center of the bottom of the dishwasher and gets your plates cleaner.
Put silverware into the silverware holder either up or down, so there’s space between them.
It matters a lot less which way silverware is facing than it does that there’s enough room for
spray to penetrate between individual pieces. You can make your own decision about knife
blades sticking up or down, but then alternate other pieces around those so every piece of
silverware is getting scrubbed by the spray.
Place larger utensils flat on the top rack, not jammed into the silverware holder. Yes, you’ll
have to spread utensils out on the upper rack, but jamming them into the silverware holder
guarantees they won’t get completely clean and it prevents your silverware from getting
truly clean, too.
Load glassware upside down, on the top rack, next to the tines. Your mom may have told you
to load glasses so that they’re over the tines of the top rack, but the manufacturer has spaced
the tines so the glasses will get cleaner and not rattle around as much if you nestle them in
next to the tines instead.
Put cereal bowls upside down, tiled, on either rack. Choose the rack for small cereal or ice
cream bowls by which rack gives you the most room to tile the bowls so spray gets into each
one. Better to put fewer bowls in a section and have them all get squeaky clean than jam
them all in and have to run them again or wash them by hand.
If you tend to handwash large mixing bowls, you’re not alone, because when you put them
in the dishwasher they need to go inverted in the center of the bottom rack, with nothing
under them, so they get maximum spray but don’t completely block the spray to the rest of
the dishwasher. If you have too many other small bowls and other items to load, you may not
want to give the space to a large mixing bowl all by itself with nothing under it, but that’s the
best way to actually get it clean.
Food container lids need to be loaded vertically in a rack so they don’t block the spray and fly
around inside the dishwasher. Especially because container lids tend to be lightweight plastic,
they can act as sails inside your dishwasher and fly around when they catch the spray,
potentially even breaking your other dishes. Let them ride vertically, penned in by the tines
of the racks, so they can get clean without turning into projectiles inside your dishwasher.
Change the way you load your dishwasher for efficiency instead of jamming as many dishes
in as possible, and you make your dishwasher run better and get your dishes cleaner.
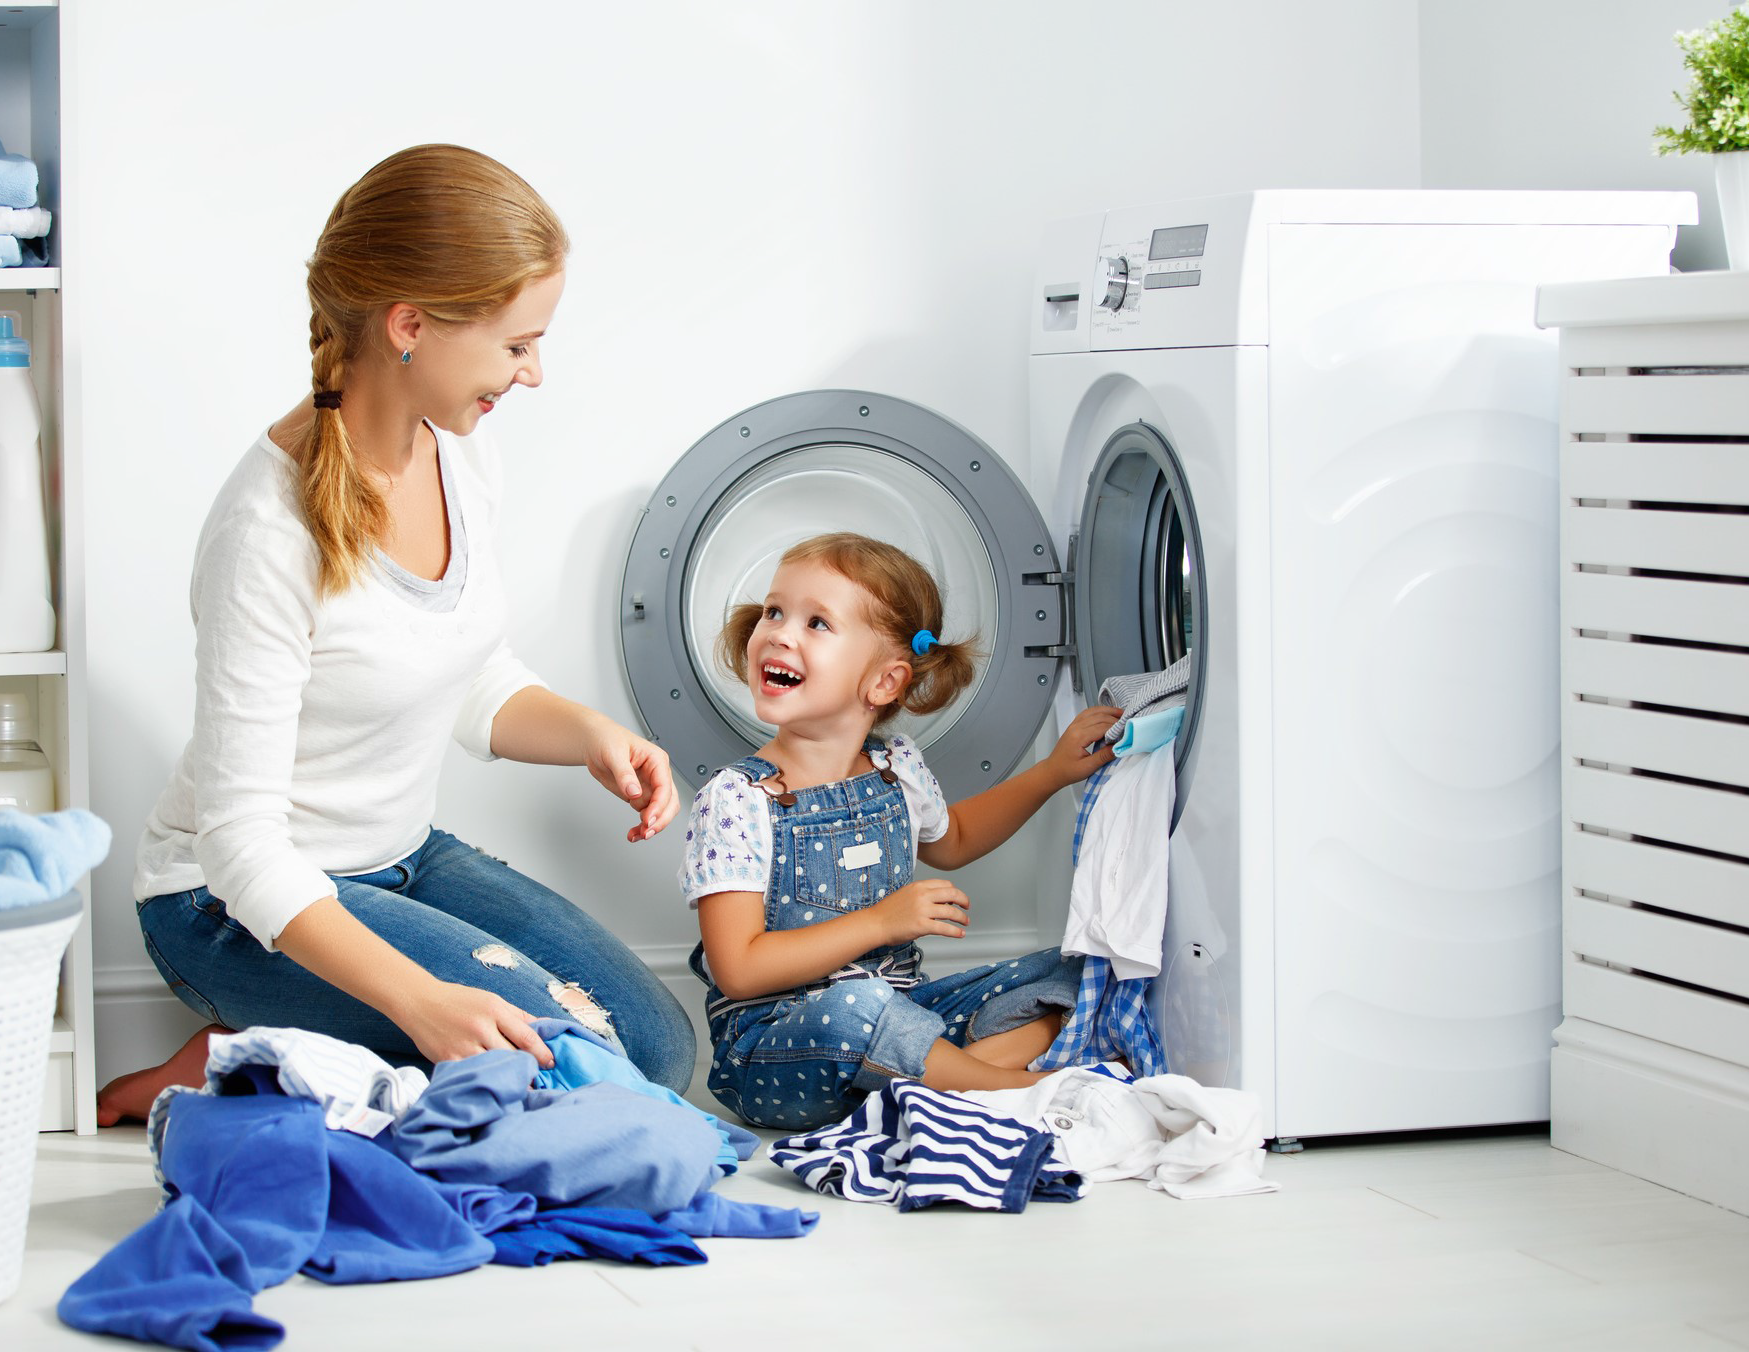
Laundry Pods vs. Strips
Similar to cleaning solutions, laundry detergents are continuously evolving for ease of use. Gone are the days when lifting a heavy container of liquid or powder is needed to accompany a load of dirty clothes. Today, pre-measured pods and even strips of dry detergent require nothing more than a simple toss in the dryer when you’re ready to wash. But which type of detergent is the best fit for you—pods or strips? Let’s compare.
Detergent Pods
- Convenient and easy to use by tossing into the washer
- More expensive per cycle than regular liquid detergent, but similar in price to strips
- Uses water, and packaging may be heavy on plastic
- Tempting and dangerous to small children
- Widely available
Detergent Strips
- Convenient and easy to use by just tossing into the washer
- Can change amount of detergent cutting partial strips
- Priced similarly to pods by load
- Do not use water, and packaging is usually biodegradable cardboard
- Must be kept dry or the box full of strips can stick together
- Mostly available in eco-friendly brands
- Available primarily in eco-friendly brands
Ultimately, it’s a matter of preference. Those who prefer well-known household brands are more likely to find their go-to manufacturers in the pod section. If you’re going green, detergent strips may be a better fit.
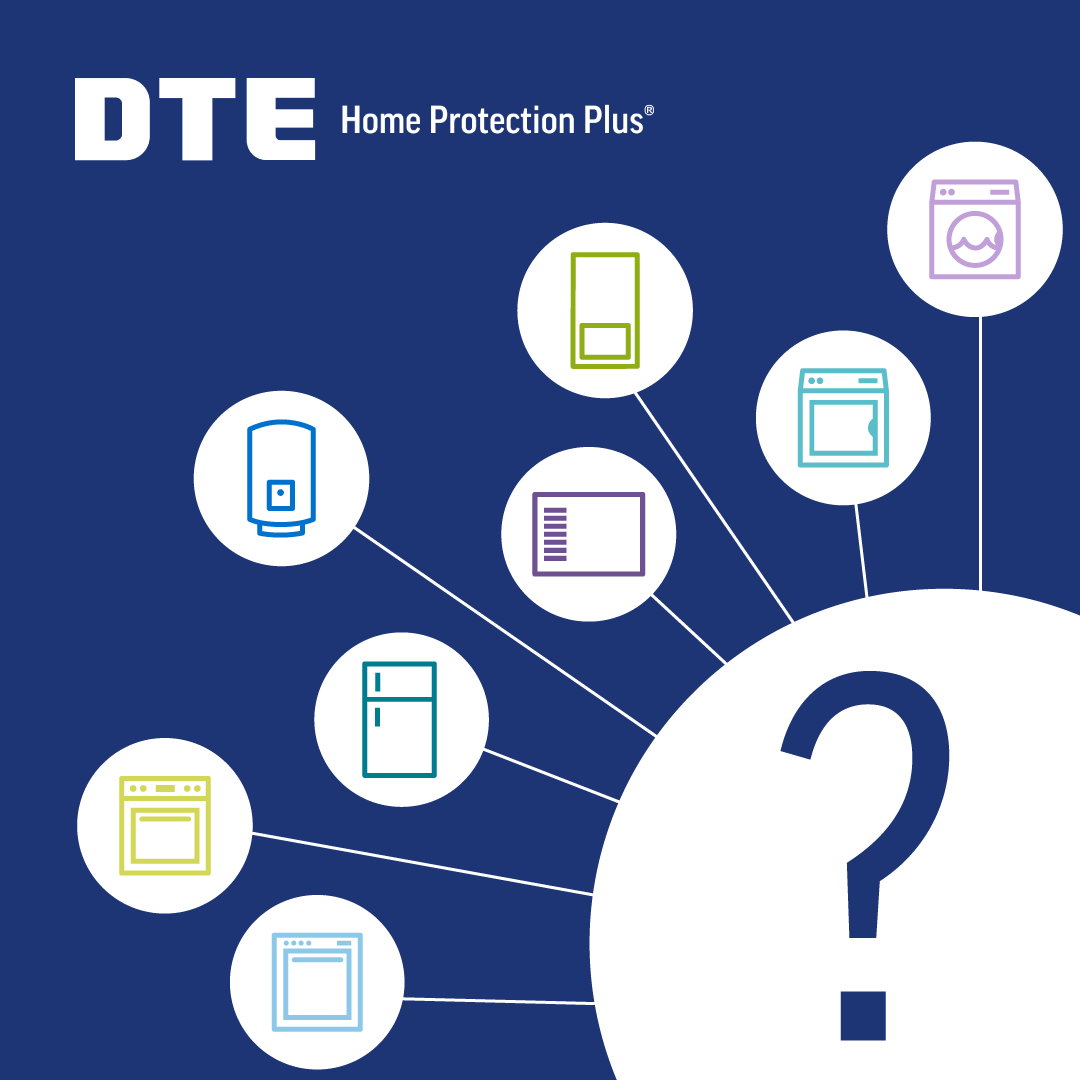
How Long Should Each of Your Appliances Last?
How long will your appliances last? We’ve gathered the research to see what the average age is of each appliance. Click through to read the article, and see how many years you have left – on average – on each of your appliances.
It can be daunting to try to choose an appliance repair plan if you’re not sure which
appliances you need to protect. While appliances are still new or covered by the
manufacturer’s warranty, your existing coverage may be sufficient. At the same time, you
want to be prepared in the event of a costly repair. An appliance repair plan saves you the
most money if you’ve got the right level of protection.
A good place to start is understanding how long each of your appliances is likely to last.
This also tells you when you should add on our replacement plan, called GreenBacks Cash,
which gives you money back to help replace an appliance that can no longer be repaired. The
lifespan of an appliance is not an exact science and there are no guarantees, but knowing the
average age of each of your appliances can help you make a better decision that equates to
more money in your pocket.
To figure out whether you should cover a given appliance, determine when you bought it. If
the appliance Is outside the manufacturer’s warranty, protect it with a plan from HPP. When
an appliance has reached 80% of its average lifespan, that’s the time to add GreenBacks
Cash—before a full breakdown.
Furnace: The average life of a furnace is 15-20 years, with electric furnaces lasting 15
years and gas furnaces lasting 18, on average. Change your furnace filter every few months
to increase efficiency. Check your paperwork carefully, and as soon as your furnace is no
longer covered by the manufacturer’s warranty, protect it with an HPP plan. Furnaces can be
extremely expensive to repair, and in the cold weather, reliable furnace repair technicians
can be booked weeks in advance if you don’t have HPP. While no prediction is certain, we
recommend adding GreenBacks Cash when your furnace is 12 years old.
Water heater: The average life of a water heater is eight to 12 years. Water heaters can
have longer manufacturers’ warranties, so check your warranty to make sure you know
when it is no longer covered, then add it to your HPP plan. After seven years, we recommend
adding GreenBacks Cash.
Central air conditioner: The average life span of central A/C unit is 15 years. You can
extend the life significantly by changing the filter regularly. We suggest adding GreenBacks
Cash when your air conditioner is 12 years old.
Washer: The average life span of a clothes washing machine is 10 years. Consider adding
GreenBacks Cash when your washer is eight years old.
Dryer: The average life span of a clothes drying machine is 13 years. For that reason, you
likely won’t need to replace your washer and dryer on the same cycle. We recommend adding
GreenBacks Cash when your dryer is 10 years old.
Refrigerator: The average life span of a refrigerator is 13 years. It’s important to note the
more features a refrigerator has--such as water in the door or an icemaker in the freezer--the
more likely the refrigerator is to need repairs over its lifespan. Consider adding GreenBacks
Cash when your refrigerator is 10 years old.
Oven: The average life span of a gas oven is 15 years, while the average life span of an
electric oven is 13 years. We recommend adding GreenBacks Cash when your gas oven is 12
years old or your electric oven is 10 years old.
Dishwasher: The average life span of a dishwasher is only nine years. You can increase the
life cycle of your dishwasher by cleaning out the water jets and the food trap regularly. When
the dishwasher is seven years old, consider adding GreenBacks Cash.
Microwave: The average lifespan of an installed microwave is also just nine years, while
counter microwaves vary in lifespan. We recommend adding GreenBacks Cash when your
microwave is seven years old.
These averages should help you decide when to cover each appliance for repairs with an HPP
protection plan and when to start planning to replace them by adding the GreenBacks Cash
plan to each one.
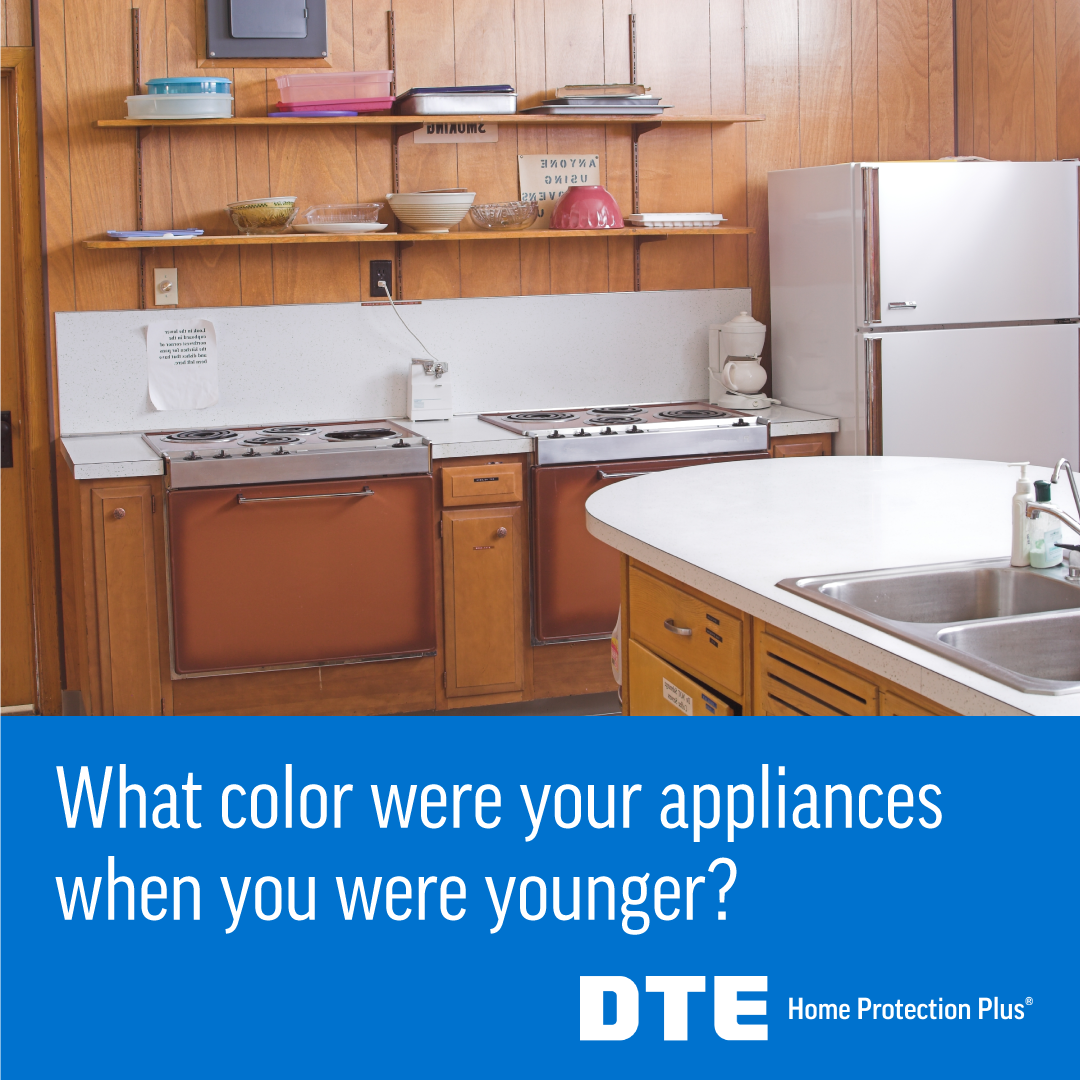
Can we guess the color of your childhood kitchen appliances?
Right now, your appliances are probably white, black or stainless, but appliances were more colorful in years of old. The evolution of color choices for appliances, especially kitchen appliances, reflects the changing lifestyles of each generation. Continue reading to see if we captured the color of your childhood kitchen appliances based on the decade.
1940s. The 1940s are usually considered the beginning of the kitchen appliance boom,
as kitchens were being studied academically and designed for efficiency, and appliances
became more powerful with additional features and attention paid to design and style. Most
appliances were sleek and white at the beginning of the decade, but by the end of the 1940s,
technology had advanced to produce appliances in pastel colors, including pink, turquoise
and yellow as the mid-century modern design trend began.
1950s. Mid-century modern (MCM) was in full swing as a design obsession and lifestyle
guide across the nation. Colors began to get more intense and bright in the MCM era, and
kitchen appliances followed, going from the pastels of the 1940s to cherry red, bright yellow,
bright pink and bright turquoise.
1960s. In the 1960s, the intense color trend continued, but the colors became more
sophisticated shades of intense pastel pink and turquoise. The end of this decade saw the
introduction of pastel shades that includeed harvest gold and avocado green, along with a
shade of brown called coppertone. The look was very sophisticated Palm Springs desert, even
as the country turned more radical socially.
1970s. By the time the 1970s commenced, the world was going natural and letting the sun
shine in, and appliance colors followed suit. Earth tones were the trend, with intense avocado
green, harvest gold, orange, brown and tan being the bestselling colors. The earthy look even
took over kitchen accessories, with aprons, trivets, potholder, and the like featuring motifs
from nature, such as mushrooms.
1980s. The next decade, punk and pop were all the rage, but kitchen appliances went a
different direction. Country colors, includeing very pale pastel shades of peach, country blue,
pink and cream took hold. These traditional, almost romantic colors were a reversal from the
earth tones of the previous decade. Kitchen decor switched from earthy mushrooms to pastel
stenciled borders and flowered wallpaper.
1990s. Minimalism took hold in the 1990s, and appliance colors shifted back to white, black
and stainless steel, with a focus on added features and technology. These plain appliances
were installed next to oak cabinets and granite countertops for a utilitarian, less trendy look
than in previous decades. This utilitarian trend continued into the 21st century.
While these were the trends for buying new appliances, many appliances had longer life
spans than they do now, so it was likely that you grew up in a house with appliances that
were a color from a 10-year-old design trend. That avocado green refrigerator your parents
bought when they moved into their house in 1975 may have looked a little outdated by the
mid-1980s when the freezer was full of Hot Pockets. And as MCM came back into fashion
as a dominant design trend, appliances built with vintage colors and styling started to gain
popularity again.